
Key Takeaways
Starting a glacier adventure requires the right preparation and guidance to ensure safety and enjoyment in a unique landscape. These five points highlight the core elements of a successful trip:
- Never venture onto glacial ice without a certified mountain guide.
- Always wear waterproof layers and solid, ankle-supporting hiking boots.
- Glacier conditions change daily, so be prepared for schedule adjustments.
- Booking with experts ensures you have access to correct safety gear.
- Most beginner glacier tours require only a moderate fitness level.
Choosing your glacier hike
South coast glaciers vs. Vatnajökull region
Choosing the right location depends on how much travel time you have in your itinerary. South coast glaciers like Sólheimajökull are easily reached from Reykjavík, while the Vatnajökull Glacier Hike offers a look at a massive ice cap that feels world-removed from the rest of the island. Many beginners find the South Coast provides a perfect intro to icy terrain without the long drive into the eastern highlands.
Matching hike difficulty to your fitness level
Most guided experiences are designed to be accessible rather than athletic marathons. A typical beginner excursion involves walking on varied surfaces, which might be slippery or uneven depending on recent snowfall. Your glacier hiking iceland for beginners experience rests on your ability to walk steadily for about two hours, though guides often pace the tour to ensure comfort for everyone in the group.
Group tours vs. private expeditions
Small-group tours managed by Scenic Iceland excel at balancing group safety with personalized attention. While private expeditions offer more flexibility in pacing, most travelers find the camaraderie of a small group to be a rewarding way to share the experience. All-Icelandic guides lead these sessions, ensuring you hear local stories while navigating the ice safely.
Deciding between basic crampon walks and ice climbing
If you simply want to see the blue ice, a standard hike will suffice. Technical ice climbing is a different beast that requires intensive instruction and more physical strength. For most visitors, sticking to a guided hike allows more time for photography and soaking in the vast, frozen scenery.
Essential gear and clothing
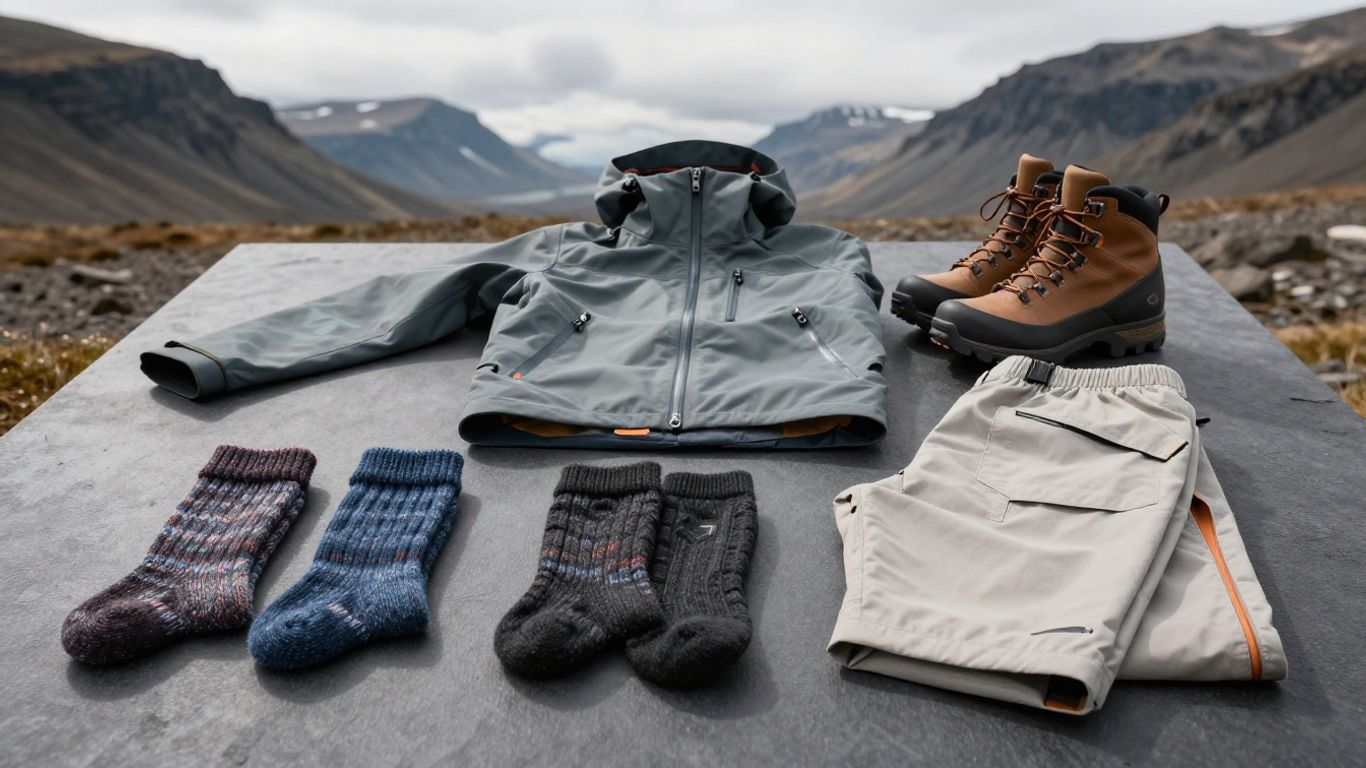
Layering for the unpredictable Icelandic climate
Weather on the ice shifts frequently, so your packing guide must focus on moisture management. You should aim for a moisture-wicking base layer, an insulating mid-layer like fleece, and a robust waterproof outer shell. Avoiding cotton is the golden rule, as it absorbs moisture and will keep you chilled regardless of the temperature.
Specialized equipment provided by glacier guides
Reliable operators provide the bulky safety items to save you space in your luggage. When you join an all-Icelandic personal service tour, you will be issued a pair of crampons, a harness, and an ice axe if your specific route requires them. These items are checked for safety before every departure, providing peace of mind while you walk.
Footwear requirements for proper crampon fit
Your boots are the most critical item you bring to the glacier. They must be stiff enough to allow the crampons to bite into the ice securely without falling off your heels. Below is a checklist for checking your gear before you arrive:
| Item | Requirement | Why it matters |
|---|---|---|
| Hiking Boots | Ankle high/stiff sole | Prevents injury and keeps crampons stable |
| Socks | Wool or synthetic | Manages moisture and retains heat |
| Sunglasses | UV Protection | Glacial glare is intense even when cloudy |
Selecting the right boots ensures your comfort for the duration of your hike. If you are unsure about your footwear, contact your guide ahead of time to confirm the requirements.
Packing your day bag for the ice
Carry a backpack that holds your extra layers, a water bottle, and a light snack. You want to keep the load light because you will be walking over rugged, uneven surfaces for most of the morning or afternoon. Keeping heavy items like cameras secured in a padded bag is essential should you need to use your hands for balance.
Safety on the glacier
Why you should never hike a glacier alone
Glaciers are living, breathing landscapes that shift constantly beneath your feet. An amateur may walk over a weak ice bridge hiding a deep hidden crevasse without even knowing it, which is why you should never set foot on the ice without a certified guide. Guided groups stay together to ensure that every path taken has been verified by an expert who knows how the glacier has moved in the last 24 hours.
Understanding common crevasse and moulin dangers
Crevasses are deep fissures in the ice, while moulins are shafts that carry meltwater down into the glacier interior. Both look different depending on current snow cover, which can hide deep, life-threatening drops. Guides use ropes and specialized route-finding techniques to ensure you remain in safe sections, far from these volatile features.
Respecting volatile weather patterns
Icelandic weather is rarely stationary, with storms rolling in over the mountains in minutes. Guides maintain constant contact with meteorological stations to make decisions about the safety of upcoming tours. If your tour is cancelled, it is almost certainly a direct response to dangerous wind speeds or poor visibility on the upper plateau.
Staying within designated safety zones
Safety zones exist to protect both the glacier and the hiker. These areas are established to keep visitors away from unstable edges or zones showing signs of recent calving. Staying within these marked boundaries allows you to enjoy the view while ensuring you remain on solid, researched ground.
Best time of year to visit
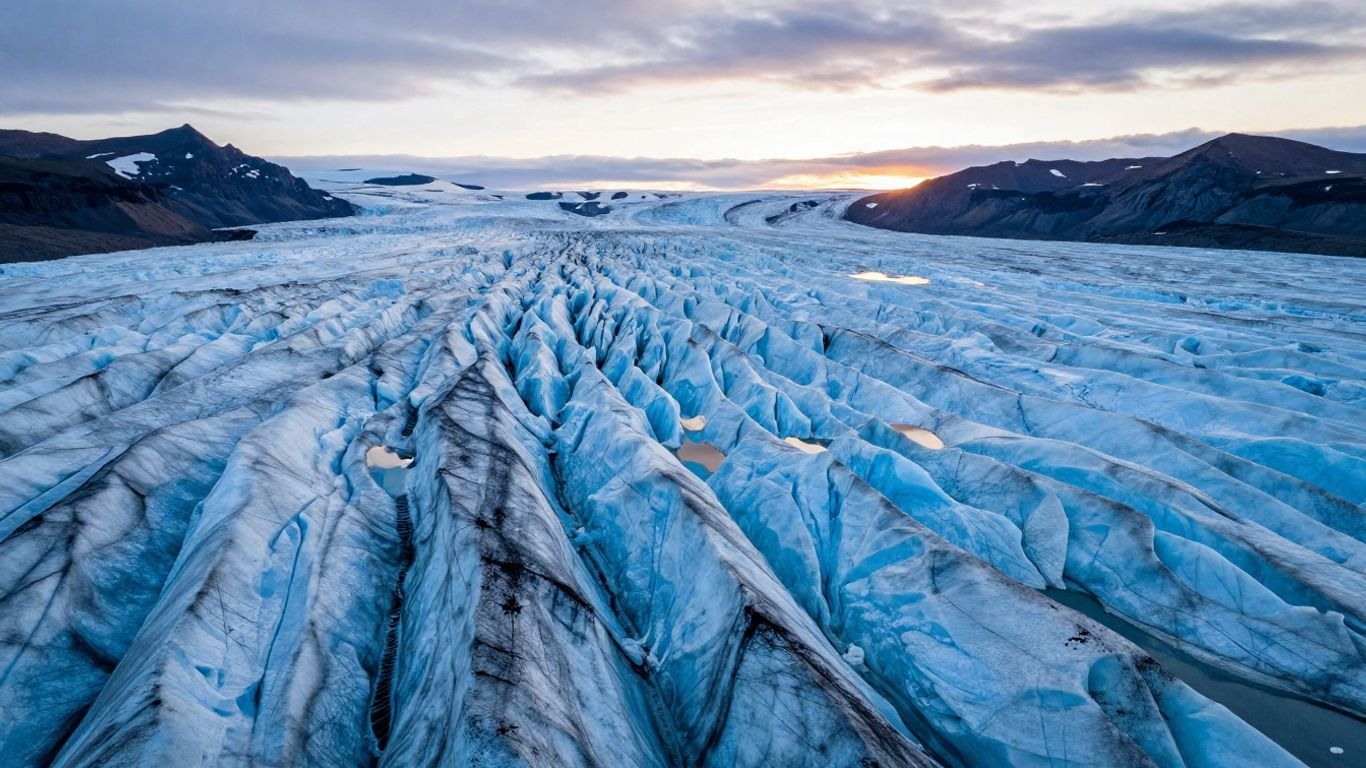
Exploring glaciers under the midnight sun
Summer offers nearly endless daylight, providing more opportunity for photos and flexible timing. The long hours allow for a more relaxed pace since you are not fighting against the fading light of an early winter sunset.
Terrain conditions and accessibility in winter
Winter conditions change the landscape entirely, often with more fresh, powdery snow covering the ice structures. While trekking can be more challenging, witnessing the deep, intense colors of the ice in the low winter light is worth the effort. It is also the perfect time to try an ice cave tour combined with your hike.
Navigating the realities of the shoulder season
Spring and fall are unpredictable, frequently bringing mixed rain and snow. These seasons often result in rapid melting or refreezing, which can lead to changing routes from week to week. Being flexible with your booking during this time is essential to a good, albeit sometimes muddy, experience.
How daily weather impacts tour operations
Most tour operators rely on real-time data to decide when to move forward with a day’s itinerary. If wind chill reaches extreme levels, you may find that the glacier is closed for the day. This is a common part of the travel experience here, and providers will typically offer to reschedule your activity for the following day if logistics allow.
What to expect on the ice
Learning to walk in crampons
Walking with metal teeth strapped to your feet feels strange at first. The trick is to keep your feet slightly wider than usual and ensure you walk with a deliberate, confident step. Your guide will teach you the "crampon dance," helping you gain stability with every stride across the blue-tinted ice.
Using an ice axe for balance and support
Think of your ice axe as an extension of your arm. During a standard walk, you mostly use it for balance, gripping the shaft to steady yourself on uneven climbs. It provides a third point of contact, which is invaluable when moving over ridges where a single misstep could result in a minor slide.
Navigating terrain features like ridges and blue ice
Glaciers are not smooth carpets of white; they are jagged, textured worlds full of ridges, crevasses, and streams of meltwater. You will find yourself walking over surfaces that range from grey, ash-streaked ice to stunning, translucent blue sections formed under centuries of pressure. The journey is visually dramatic at every turn, which is why Scenic Iceland guides often take routes that highlight these varying textures.
Photographic opportunities on the glacier surface
Every turn offers a new perspective on the landscape. Make sure you bring a camera that is easy to reach but securely protected inside your bag. Take care when stopping for photos; ensure you are not obstructing the path for others and find a stable spot to stand before you start clicking your shutter.
Practical booking tips for beginners
Verifying company certifications and guide expertise
Safety must be your primary filter when searching for providers. Look for companies that clearly define their guide training programs and certifications. A professional service will openly display their credentials for leading groups in high-altitude or glacial environments, ensuring their safety protocols are up to date.
Factoring in travel time to the glacier parking areas
Beginner tours are often scheduled with meeting points directly at the glacier base. Make sure your drive time accounts for Icelandic traffic and potential stops along the way. If you arrive late, the group will likely have already started their hike due to strict safety thresholds.
Securing your spot during peak tourist season
Demand scales quickly during the summer months. It is standard to book your glacier activity several months in advance if you want to ensure your spot on a specific day. If you are also planning a winter visit, expert-guided photo tours during the northern lights season are easy to add to the same trip.
Handling tour cancellations and rescheduling expectations
Always understand the cancellation policy before you confirm a booking. Most reputable companies are very fair and will offer a refund or an alternative date if weather prevents the tour from operating. Keep a digital copy of your voucher handy and maintain check-in communication with the provider on the morning of intended travel.
Conclusion
Embarking on a glacier hike is a memorable way to witness the raw power of the Icelandic landscape, and with proper gear, a patient mindset, and the help of a certified guide, it is an accessible adventure for any traveler. By respecting the conditions and choosing a reputable partner, you turn a simple walk into an unforgettable immersion in ancient ice.
Frequently Asked Questions
Do I need to be a professional athlete to hike a glacier?
No, you do not need professional training, but you should be able to walk steadily for about two or three consecutive hours on uneven ground.
What happens if it rains on the day of my tour?
Rain is common, and tours often proceed as long as visibility and wind are within safe limits; you will be grateful for that high-quality waterproof jacket.
Are children allowed on glacier hikes?
Many tours have age minimums, typically ranging from eight to twelve years old, depending on the specific glacier and the intensity of the route.
Is the ice actually blue everywhere?
No, the ice color varies significantly from white snow to grey volcanic ash to deep, crystalline blue depending on the density of the ice and the history of recent eruptions.
Can I leave my heavy belongings at the base camp?
Most tour bases have a secure area for storing luggage that you do not need to bring onto the ice, though checking this policy with your provider in advance is always wise.
What if I have never used an ice axe before?
Your guide will provide comprehensive training on how to hold, use, and carry your ice axe safely at the very start of the tour.
How cold is it on top of the glacier?
Temperatures on the glacier surface are often several degrees lower than at the parking lot, and wind chill can make it feel much colder, so bringing extra layers is always necessary.